
Configuring routing steps and action officers
System Administrators (SA) or Workflow Administrators (WA) can fully define the routing steps and assign default action officers in a workflow template. This helps to standardise approval processes across departments, ensuring submissions follow a consistent path and reach the correct individuals.
Adding a routing steps and/or action officer in a Workflow Template
- Login as the System Administrator/Workflow Administrator.
- Click on the Module Switcher at the top bar and select E-Submission module.
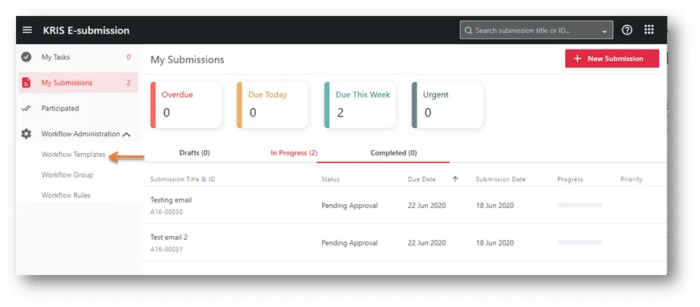
- Click on the Workflow Administration menu at the Action Menu Panel.
- Select Workflow Templates option.
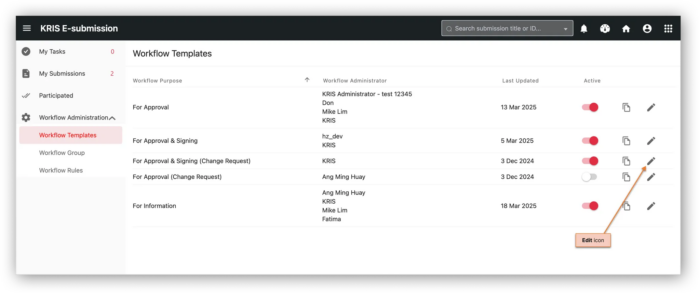
- Select the Workflow Template to set the routing step(s) and action officer(s). Click on the Edit icon.
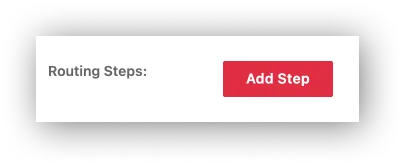
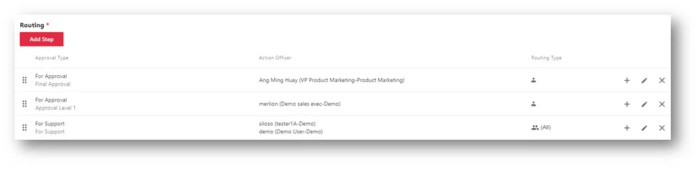
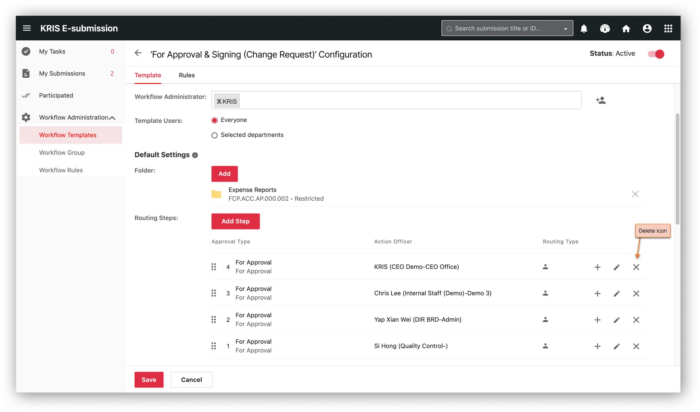
- Under the Routing Steps section, click on the Add Step button to start defining routing stage for this workflow template.
- In the Add Routing Step pop up window, select the Approval Type for this stage.
- Add a description for this stage if necessary.
- Select the Routing Type for this stage.
- Individual refers to assigning to one person for support /approval.
- All refers to assigning to a group of people for support/approval before moving to the next stage of the submission.
- Any refers to assigning to anyone in the group for support/approval before moving to the next stage of the submission.
- If the action officers are always the same for this step, click the add Action Officers icon
 to assign users to act on this submission.
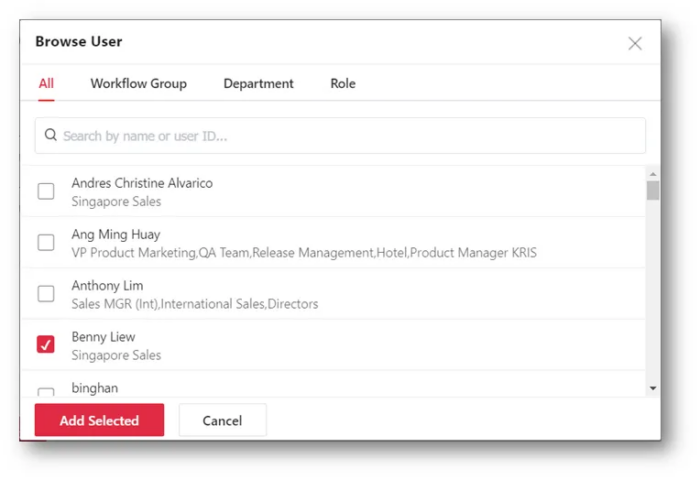
If action officers vary, you may leave this field blank. The requester will select them during the submission. - Select the number of users depending on your Routing Type option and click on the Add Selected button.
- Choose the designation of the selected users if they are holding more than roles in KRIS.
- Repeat Step 6 to Step 12 to create as many support/approval stages as you need in this submission:
- Click on the Save button. The newly added routing step(s) will be listed on this page.
Removing a routing step in a Workflow Template
- Login as the System Administrator/Workflow Administrator.
- Click on the Module Switcher at the top bar and select E-Submission module.
- Click on the Workflow Administration menu at the Action Menu Panel.
- Select Workflow Templates option.
- Select the Workflow Template to set the Workflow Administrator. Click on the Edit icon.
- Click on the Delete icon X to remove the selected routing step.
- Click on the Save button to save the changes.
The newly added routing steps and action officers will be reflected on this page.
Impact of changing routing steps and action officers between submissions
When you update the default folder setting, it is important to understand which submissions will be affected:
- Completed submissions
- Not affected. The original routing profile is retained.
- Ongoing submissions (in progress)
- Not affected. These will continue following the routing profile that was set when they were initiated.
- Draft submissions
- Affected. They will follow the updated routing profile once submitted.
- Returned submissions
- Not affected. They will continue using the routing profile from the original submission.